
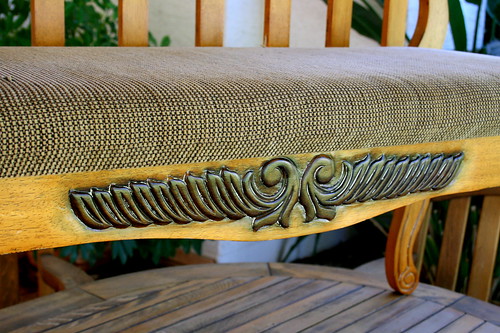
I've been wanting to update this bench since I first got it several years ago. I never liked the chenille seat cover (way too plain).

and the carving on the front was too dark of a a contrast compared to the rest of the bench.
I ordered it on-line, and even though when it arrived it was nothing like what I expected (or remembered) - that little voice inside me whispered "no problem, that's an easy fix - just keep it - you can always change what you don't like".
That was at least 5 years ago, and I'm only just now getting around to making any changes. You would think my now I would have learned not to listen that that little voice?
The good news is, that the bench is now in the kitchen, and it was originally purchased for our dining room. If I had re-covered it immediately, it would need changed now anyway, so it's a good thing I waited. See - I can even rationalize my procrastinating.
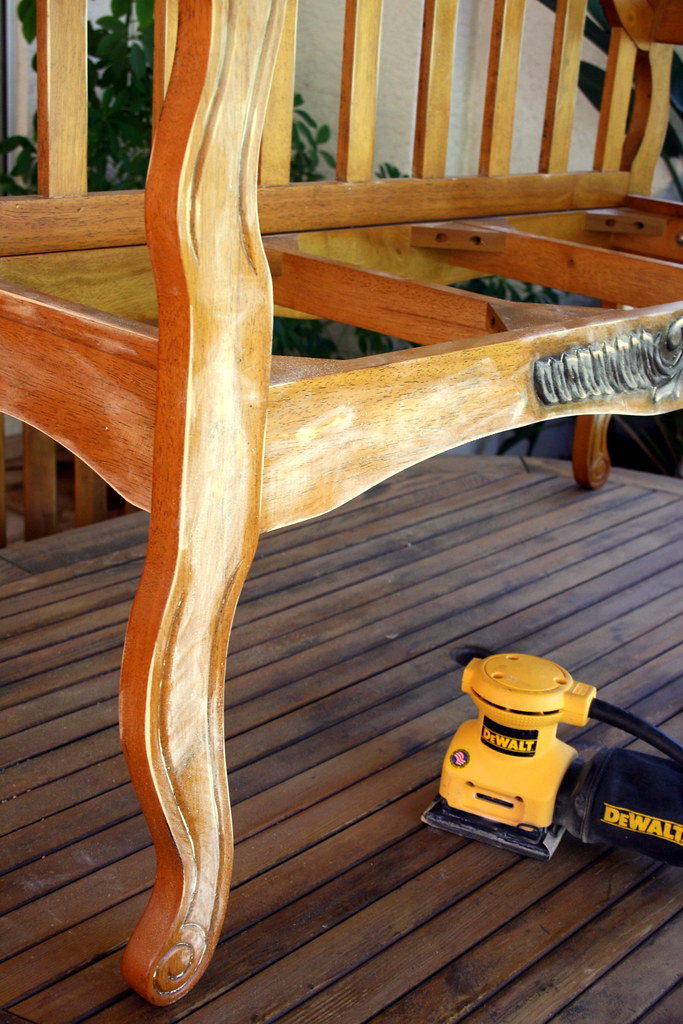
I wanted to change the color, but didn't want to completely strip the good. I got out my favorite palm sander and went to town. Mostly just to scratch up the surface so a new color could be absorbed.

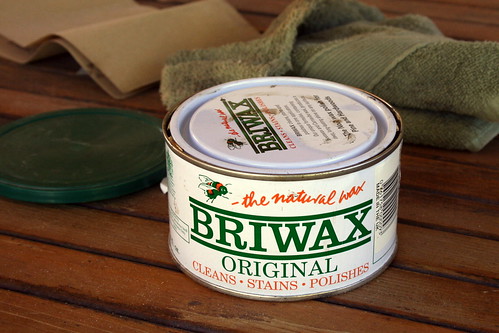
Instead of stain, I used a colored wax furniture polish. This stuff is great. I use it to distress and antique all kinds of new things (when I want them to look old). And I use it to add some color and life to all kinds of old things (when they need to be freshened up).
You just apply with a clean towel or rag, and then wipe it off. You can buff it for a shine, or just rub off the excess for a matte finish. Any bits left in the nooks and crannies will simply harden over time.

However, it's not the best thing if you just had a manicure. Luckily that was not the case for me. I suppose you could wear gloves, but getting dirty if half the fun.
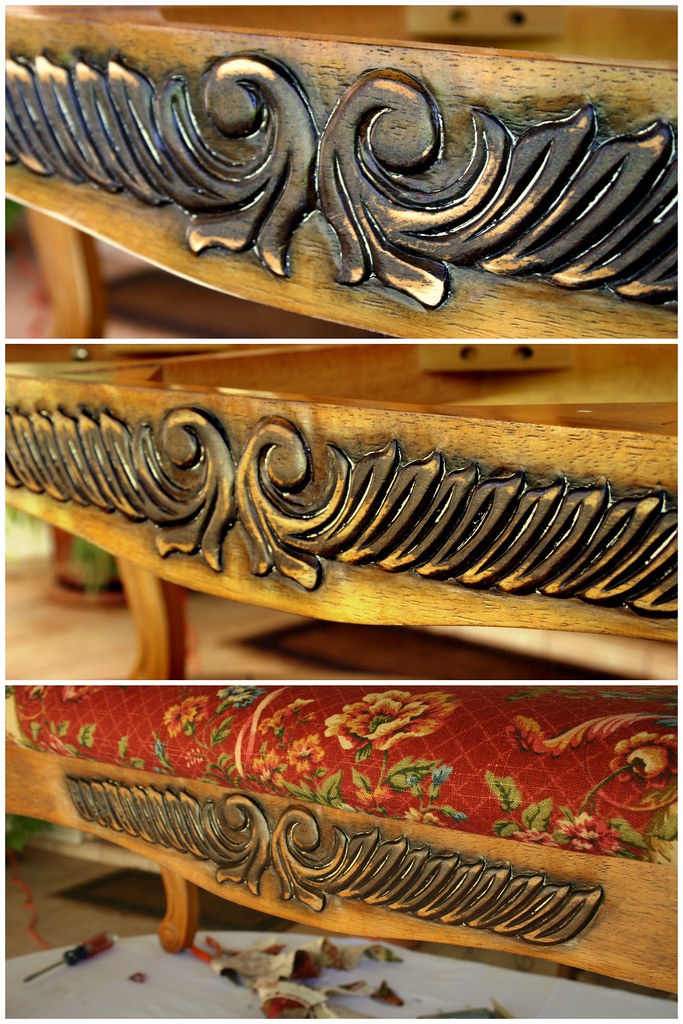
By sanding down some of the dark stain around the front carving, and then adding the Briwax in a darker color all over, they blend together much better. I'm happy now.
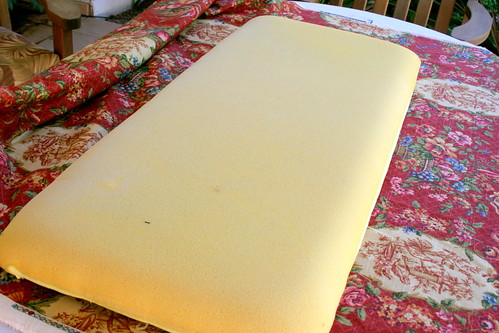
Time to start on recovering the bench seat. This one was held to the frame with just a few wood screws. Once the seat was off - I had to remove the chenille fabric. That wasn't the hard part, I just pulled and it ripped right off.

The hard part was pulling out the hundreds (and I do mean hundreds) of staples left behind.
My parents owned an Upholstery Shop when I was younger - I was sure wishing I had one of their handy dandy staple remover tools right about now. I managed to get them all out with a butter knife and a pair of pliers.
My parents owned an Upholstery Shop when I was younger - I was sure wishing I had one of their handy dandy staple remover tools right about now. I managed to get them all out with a butter knife and a pair of pliers.
The existing foam was in good shape, so I re-used that.
I layed the seat on the fabric to figure out how I wanted the pattern repeated and rough cut the fabric to size.
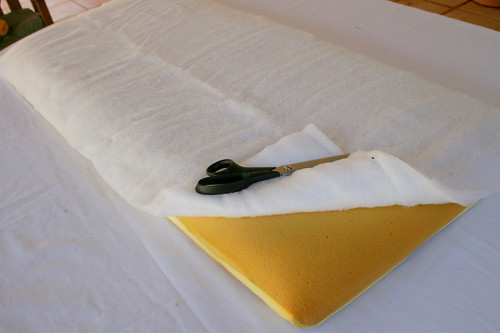
I added some cotton batting on top of the foam to ensure the edges would be soft and rounded (another Upholstery trick from my parents).

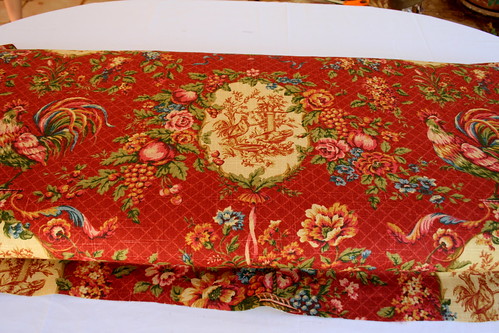
This fabric was a bit tricky to get it positioned just right. A solid or a smaller all over pattern would have been easier. Don't try a plaid on your first attempt - it will be very difficult to get perfectly straight.
There are lots of options on how to finish the corners. This is the method I prefer. It creates a soft little pleat on the underside, with a rounded top corner.
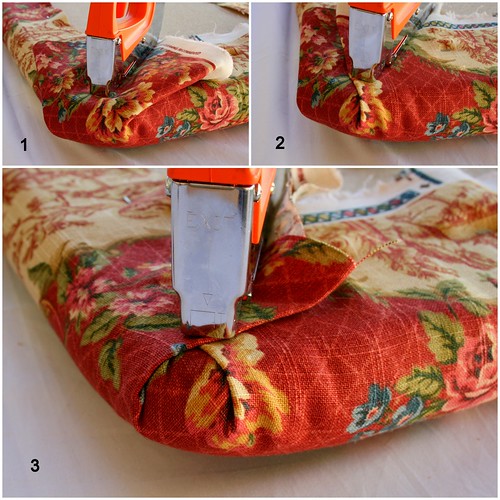
1) Pull the fabric across the corner and staple in place.
2) Fold over one edge and staple.
3) Fold over the opposite edge and staple. Voila! That's it.
All I had to do now was screw the seat cushion back onto the bench (hubby actually did that for me - smile).


The finished product. The wood color differences are subtle, but I like it much better. It's a warmer tone in a bit darker color, and I'm so happy the fabric now has some personality.

Here it is in the alcove of our Kitchen. That's "Little K" testing it out.
Beautiful bench! Karina you are so good at everything! Wishing you and your family a Merry Christmas!
ReplyDeleteWhat a difference! Even though it was not a huge change, the bench really looks much better now!
ReplyDeleteHappy New Year!
Wow! That looks amazing now! Thanks for the tutorial, that kind of stuff has always scared me. I need to recover our dining room chairs but just keep putting it off!
ReplyDeleteso cute! Love the pic of "Candle" on it.
ReplyDeleteGood for you for getting to it - I just gave away two cool wooden chairs that we had, half stripped down before i gave up years ago. . .they were taking up valuable real estate in our crowded basement.
ReplyDeleteBench looks great!
- donna (from kindredcrafters)
Very impressive and informative writing
ReplyDelete