Sunday, December 27, 2009

And The Award Goes To...

A few weeks ago I received some wonderful Blog awards from several of my Bento Blogging Buddies. I'm honored that they thought enough of my little blog to pass on these awards.

Thanks so much ladies - I really appreciate it.


I received this adorable award from Susan at Hawaii's Bento Box


And this little cutie from Arkonite at My Bento Box and Sheri at Happy Little Bento


As part of the award, I'm supposed to share 7 (random) things about myself - so here it goes:

1) I was born in Germany while my father was in the Air Force. I can still understand a fair amount of the language, and speak it a bit. I would love to go back to Germany with my family to visit some day.

2) I have an unhealthy attraction to Tote Bags and Note Books (preferably spiral bound). For some reason I keep purchasing more even when I don't need them. They are just so colorful and cute (and usually inexpensive) I can't resist, but I'm working hard to curb my addiction.

3) My favorite color is Green. I remember hating the color when I was younger, so I'm not sure when exactly my taste changed. I think I noticed it first when I went out to purchase a neutral Tan colored sofa, and came home with a big huge over stuffed Green one. In my mind - green is a neutral!

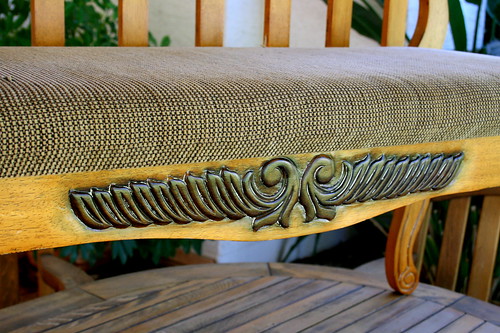
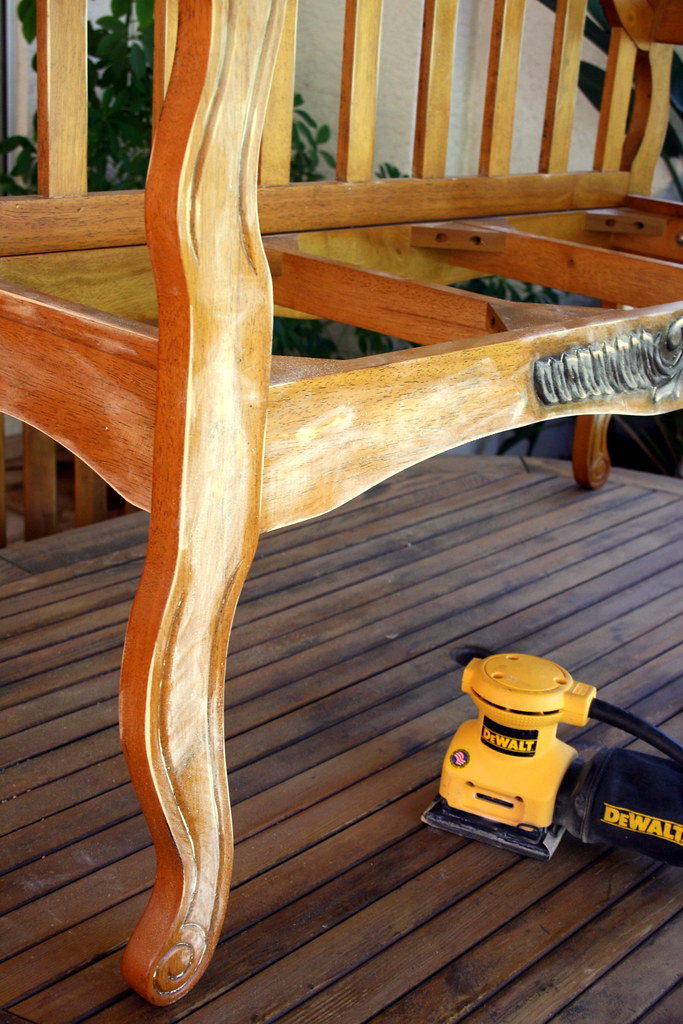
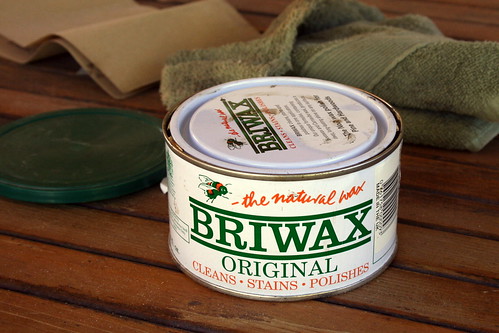
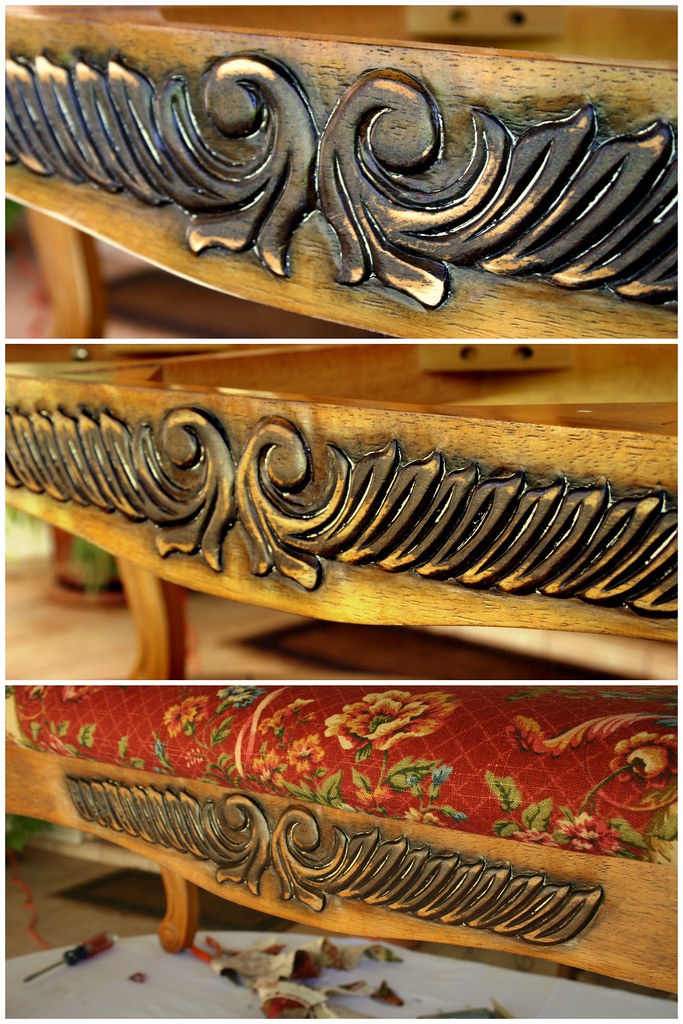
4) I think every woman should know how to use a sewing machine and basic power tools...and if you can change a flat tire as well - that's bonus points.

5) I believe in Karma, the power of positive thinking, and making the best out of a bad situation (after an appropriate amount of time spent wallowing in self pity). It's what allows me to sleep well at night.

6) I have been to the Dr. Phil Show - in the audience, not as a guest.

7) I still have my 8 year old daughters crib in the attic even though I know she will be an only child. My excuse is that some day I will make something really cool out of it - I will - I really will!

Be sure and check out Susan, Sheri and Arkonite's blogs - they do some amazing bento work that I am constantly inspired by.

Friday, December 18, 2009

Pretty Little Bench

I've been wanting to update this bench since I first got it several years ago. I never liked the chenille seat cover (way too plain).


and the carving on the front was too dark of a a contrast compared to the rest of the bench.

I ordered it on-line, and even though when it arrived it was nothing like what I expected (or remembered) - that little voice inside me whispered "no problem, that's an easy fix - just keep it - you can always change what you don't like".

That was at least 5 years ago, and I'm only just now getting around to making any changes. You would think my now I would have learned not to listen that that little voice?


The good news is, that the bench is now in the kitchen, and it was originally purchased for our dining room. If I had re-covered it immediately, it would need changed now anyway, so it's a good thing I waited. See - I can even rationalize my procrastinating.


I wanted to change the color, but didn't want to completely strip the good. I got out my favorite palm sander and went to town. Mostly just to scratch up the surface so a new color could be absorbed.


Instead of stain, I used a colored wax furniture polish. This stuff is great. I use it to distress and antique all kinds of new things (when I want them to look old). And I use it to add some color and life to all kinds of old things (when they need to be freshened up).

You just apply with a clean towel or rag, and then wipe it off. You can buff it for a shine, or just rub off the excess for a matte finish. Any bits left in the nooks and crannies will simply harden over time.


However, it's not the best thing if you just had a manicure. Luckily that was not the case for me. I suppose you could wear gloves, but getting dirty if half the fun.


By sanding down some of the dark stain around the front carving, and then adding the Briwax in a darker color all over, they blend together much better. I'm happy now.

Time to start on recovering the bench seat. This one was held to the frame with just a few wood screws. Once the seat was off - I had to remove the chenille fabric. That wasn't the hard part, I just pulled and it ripped right off.


The hard part was pulling out the hundreds (and I do mean hundreds) of staples left behind.

My parents owned an Upholstery Shop when I was younger - I was sure wishing I had one of their handy dandy staple remover tools right about now. I managed to get them all out with a butter knife and a pair of pliers.

The existing foam was in good shape, so I re-used that.


I layed the seat on the fabric to figure out how I wanted the pattern repeated and rough cut the fabric to size.


I added some cotton batting on top of the foam to ensure the edges would be soft and rounded (another Upholstery trick from my parents).


This fabric was a bit tricky to get it positioned just right. A solid or a smaller all over pattern would have been easier. Don't try a plaid on your first attempt - it will be very difficult to get perfectly straight.

There are lots of options on how to finish the corners. This is the method I prefer. It creates a soft little pleat on the underside, with a rounded top corner.


1) Pull the fabric across the corner and staple in place.

2) Fold over one edge and staple.

3) Fold over the opposite edge and staple. Voila! That's it.

All I had to do now was screw the seat cushion back onto the bench (hubby actually did that for me - smile).


The finished product. The wood color differences are subtle, but I like it much better. It's a warmer tone in a bit darker color, and I'm so happy the fabric now has some personality.


Here it is in the alcove of our Kitchen. That's "Little K" testing it out.

Thursday, December 3, 2009

Holiday Party Invitations - (365 Cards Day 275)

I'm running a little late this year, but I did manage to get the invitations to my hubby's Staff Holiday Party completed and in the mail this week.

I think I might have spent as much time waiting in line at the post office, as I did making these invites. Note to Self: procrastinating is not a good idea!


Supplies: Solid & Swiss Dot Cardstock (Bazzill), Patterned Papers (Bo Bunny, Websters Pages & & Gypsies), Red Grossgrain Ribbon, Green Tulle, 2" Scallop Punch (EK Success). border Punch (Martha Stewart)


I broke out the sewing matching and added a little stitching. It was a bit tricky switching from straight stitch, to zig zag mid sew...but by the end of 12 cards, they were looking pretty good.

So sorry to the folks that will be receiving the first few that are not quite so pretty.


I printed up the "Party" sentiment on the computer, adding a polka dot circle border and punched them out with a 2" scallop punch. I used foam pop dots for some height. Added a ribbon (stapled to the edge for a little more detail) as well as some tulle for a little softness.

Inside the card reads: The cookies are all baked, the decorating is all done. Now it's time to sit, relax, and have a little Fun!

Right now my house is a complete disaster as I am in the middle of putting up the decorations. When my daughter read the inside of the invitation - she totally called me on it. "Mom, that's not true, you're not done decorating and we haven't baked even one cookie yet". My rational to her was that they would be done by the time the guest arrive - at least I hope so!