Thursday, September 27, 2012

Project Thursday

I am so excited to share the news that I have been asked by my sweet friend LORi to join the accomplished team at The Pink Elephant.  


 I'll be doing a monthly (maybe more) Post called ~ TPE Project Thursday.  

The Designers, Readers and Challenge Participants at The Pink Elephant are so talented - I am honored to be able to share my Crafty Creations with them.  

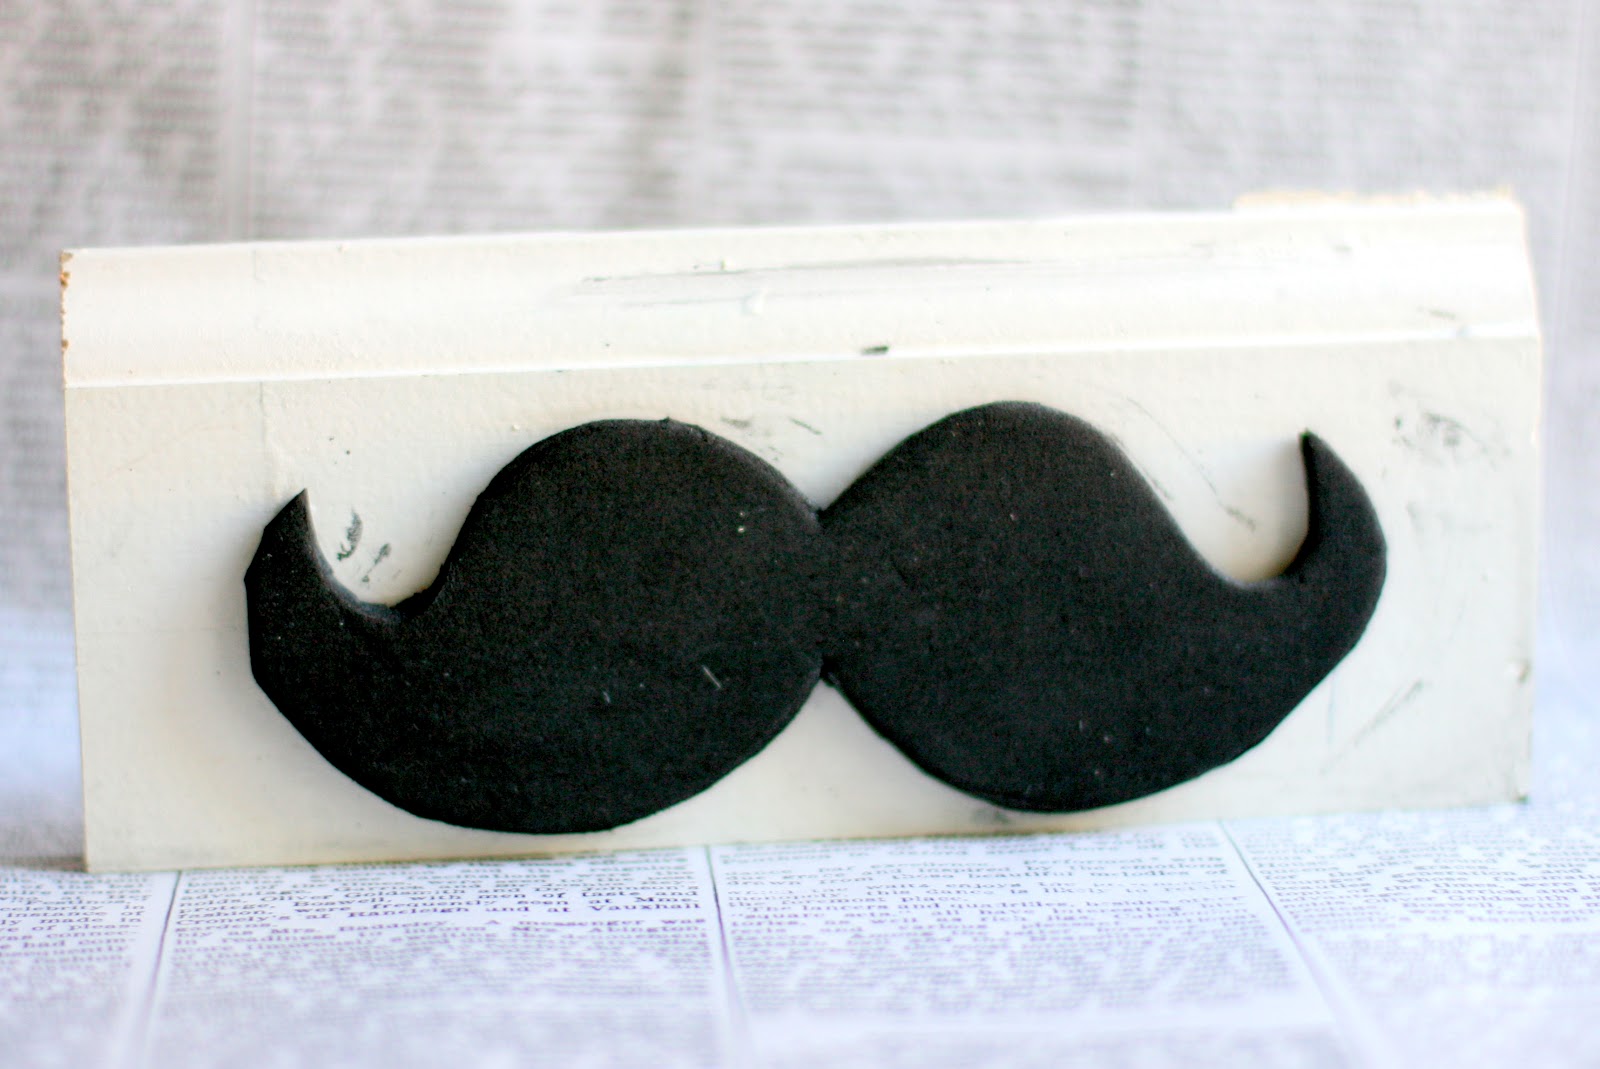
My first post at TPE (find it here) has the details on these fun Jumbo Printed Mustache Burlap Pouches that I made as a fundraiser for my daughters school.  


I Mustache You a Question...but I'll Shave it for later.


I would love to stay and Chat - but I really Mustache!


Sorry - I just couldn't resist the cheeky Mustache sayings.

Hope you are all having a great week. 


Tuesday, September 11, 2012

School is a Hoot - Back to School Breakfast

We were happy to host another Neighborhood Back to School Breakfast this year.

Although we cheated a little bit....
....and had it a week later - instead of on the First Day of School. 

Everyone was a bit more relaxed and over their first day jitters.
The morning started with a group of cute little Owls set up to greet the guests.


Yep - made from Toilet Paper (and Paper Towel) rolls.

Painted bright colors.  Embellished with dotted cardstock Wings, Bows and of course Google eyes.


The Owl Theme started when I came across these great free printables from  Delightful Designs.

The "Going Back to School is a Hoot" framed art is the front cover of a mini book (part of the free download).  I just enlarged the cover page and used it in a Frame. 

The polka dotted matte was made at the same time we were painting the TP Owls using foam daubers to create dots on a plain white matte.


I found these lightweight plastic frames at Michaels and added another copy of the same (enlarged) Art Print and hung them on the front door with a green ribbon. 


Little K and I had so much fun making these owls.  There was an entire army of them lining the table and counter tops.


We just couldn't stop. 


The bookmarks were also part of the Delightful Designs free download (find it here).  I mounted them on colored swiss dot cardstock and added a glittery ribbon and some iridescent glitter glue embellishments.

 I thought about adding more google eyes - but decided that would make the bookmarks too thick. 


Each of the kids place settings had their Name and another personality filled Owl.  I used the Cricut Hoot n Holler cartridge. 


On the inside of each of the Name Cards was a silly school Joke.  I used the pages from the mini book download from Delightful Designs and cut them apart so each child had a different joke to tell. 

Nothing funnier than a bunch of budding comedians and the breakfast table.


These Owl Snack Bags were made using the Cricut Lacy Labels cartridge.  The head is one of the scalloped frames folded over a cellophane snack bag.  Yellow and white punched circles for the eyes,  google eyes in the middle of the circles and a bright beak.


Inside they were filled with a tropical granola mix.  The brightly colored fruit bits worked perfectly with the colorful owl theme.  


I wanted to add a few bows, but ran out of time. 


In keeping with our annual tradition - we took pictures of all the kids (and the moms too).


I planned on using large paper mache numbers (painted in the tropical theme colors) for each of the kids Grade Numbers, but I couldn't find ones that were big enough.  So I modified and used a wooden heart, painted and embellished with a Cirucut cut Number.


Would you believe we already had this glass owl flower vase?  The perfect finishing touch to our Back to School is a Hoot theme.

I hope the first Days/Weeks of school are going great for you and the kids.  We are off to a great start - looking forward to a wonderful year ahead.  


Friday, August 24, 2012

Back to {Middle} School

We are in the second week of school here in California.  
So Far....So Good
(although I don't want to jinx it)

The transition to Middle School has been a good one - for Both of Us!

~ In Years Past ~
~ Like So Many Families Across America ~
The First Day of School was filled with Mom rushing to get the Perfect Picture (followed by child grumbling and groaning)


Last year I finally got Smart - and started doing a Dry Run Sunday.


Little K get's to try out her First Day of School Outfit - and I get to take all the pictures I want.

No Rush
No Hassle
Everybody is Happy


This year - Little K actually asked ME first - if we were going to do a photo shoot before school started.

Aaah - after years of training - I've finally got her requesting that pictures be taken. 


There is One downside to my plan.  I ended up with over 200 shots.  Many of them were really good.

How will I ever choose my favorites


What a difference it makes when my child is relaxed and happy (and mama too).


She was willing to pose anywhere I suggested - and I was willing to try HER  suggestions too.


This shot was on a wall about 12 feet off the ground.  She had to climb on my shoulders just to get into position. 

Oh what the neighbors must think of us.

Time to be a little Goofy


And a little more Serious


And maybe a little Cheeky


So how was the First Day of School in your house?

I have a feeling this is going to be a Great Year. 

Wednesday, July 11, 2012

Bleach Art T-Shirts

We've been doing some Summer Crafting with the Kids.


Keeping it Simple - but filled with lots of options for personal expression.


We started with a Solid Black Cotton Tee.

Your work surface should be covered completely.  I also placed a barrier on the inside of the t-shirts to prevent bleeding from the front side to the back - although that could be a successful look as well. 

Not any Rules here.  


The girls Raided my Craft Studio and pulled out all kinds of decorations:

stencils
chip board shapes
keys
paper clips
flowers
rice
silly bands

Almost anything goes

Just make sure your decorations are fairly water resistant (heavy cardboard worked just fine).  And that you don't care if they get bleached (metal objects can discolor and paper will lose it's color).  This is not the place to use  family heirlooms or expensive mementos.


After (what seemed like) Hours of Arranging - and Re-Arranging.  They each decided on the perfect design.

Truth is - they wanted to keep working on their designs but I was itching to see how the effect would turn out so I rushed them to finish.

Next step is to mix up a solution of bleach and water into a spray bottle.

I forgot to take a picture of this part (see above where I couldn't wait any longer).  I'm not sure of the proportions.  I actually used the bottle I already has mixed for in the bathroom to keep the shower mildew at bay. I would guess about 1/3 bleach to 2/3 water.


Then you just spritz over the design.  


We adjusted the spray nozzle to include both a stream spray and a mist spray for different effects.  


Don't they look cool.  

Just as a precaution - I gave them a quick wash and dry to remove any of the extra bleach solution.  


Next on the agenda is to try the Bleach Pen method - although I think that would require considerably more artistic effort than I want in a Summer Craft.