Thursday, September 26, 2013

Homework Station

We have been in school for 5 weeks this year so far - and this is what our Kitchen Counter often looks like:


To tell the Truth - it almost ALWAYS looks like this.

Homework never gets done in one sitting, so the homework supplies stay out all afternoon, and night and usually the next morning (for those last minute study sessions).

I decided it was time to Tame the Beast and Take Back our Kitchen Counter.

Ta Da...We Now have a Designated Homework Station!


 I would have loved to fill it with Fun Bright Colored accessories - but since it's in the middle of the Kitchen - and can be seen from all over the first floor - I decided to keep things neutral.

Everything essential for homework has it's place.


Text Books are covered with Newsprint Wrapping Paper (I added clear Contact Paper for extra durability).


 The books were covered - but not yet labeled - for at least a week.  

 I thought it was fun searching for the right text book - Little K....not so much. 

I used Red bordered labels - and my Old Fashioned typewriter - to make the Subject Labels.

  
Baskets of all different sizes are used to corral the clutter.  

Each one has it's own clever hang tag:

PLUG IT IN (electronic devices and chargers)
TAKE NOTE (note cards and sticky notes)
GO AWAY (erasers and white out) 
KEEP IT TOGETHER (paper clips and glue sticks)


 Cans of different sizes are wrapped with Scrap Book Paper (you could also use the same wrapping paper from the Text Book Covers). 

  
Look at these happy colored rubber bands - tucked inside one of the cans. 


 Colored pencils add another splash of bright.


Smaller baskets keep little bits in place, and cardboard magazine holders hide notebooks and paper packs (I plan on covering the white holders with more newsprint paper).  


 Another wrapped can holds a supply of sharpened pencils (that will somehow disappear completely within a few weeks).  


The bookcase that holds it all - is right next to the kitchen counter where homework is done. 

I didn't expect that everything would be neat and tidy all the time, and the counter is still filled with books and papers most of the afternoon and evening.  But our Homework Station has kept a lot of the little bits in place and made it much quicker to put things away (for her, and for me).

Now I need to do the same kind of organizing for the other place that homework gets done....the car. 


Sunday, June 9, 2013

Duck Tape Flowers

Little K has been making all kinds of things from Duck Tape - but until recently - we never attempted making FLOWERS because they looked too complicated.

Nothing worse than getting frustrated with a project because it's more difficult than you imagined.  


We finally decided to attempt one.  
Much to our surprise - they are NOT as difficult to make as you might think.  

After learning a few tricks (and after a few practices) you can make one in under 15 minutes.
 

All you need is a variety of Duck Tape, pen, cutting mat and a utility knife.


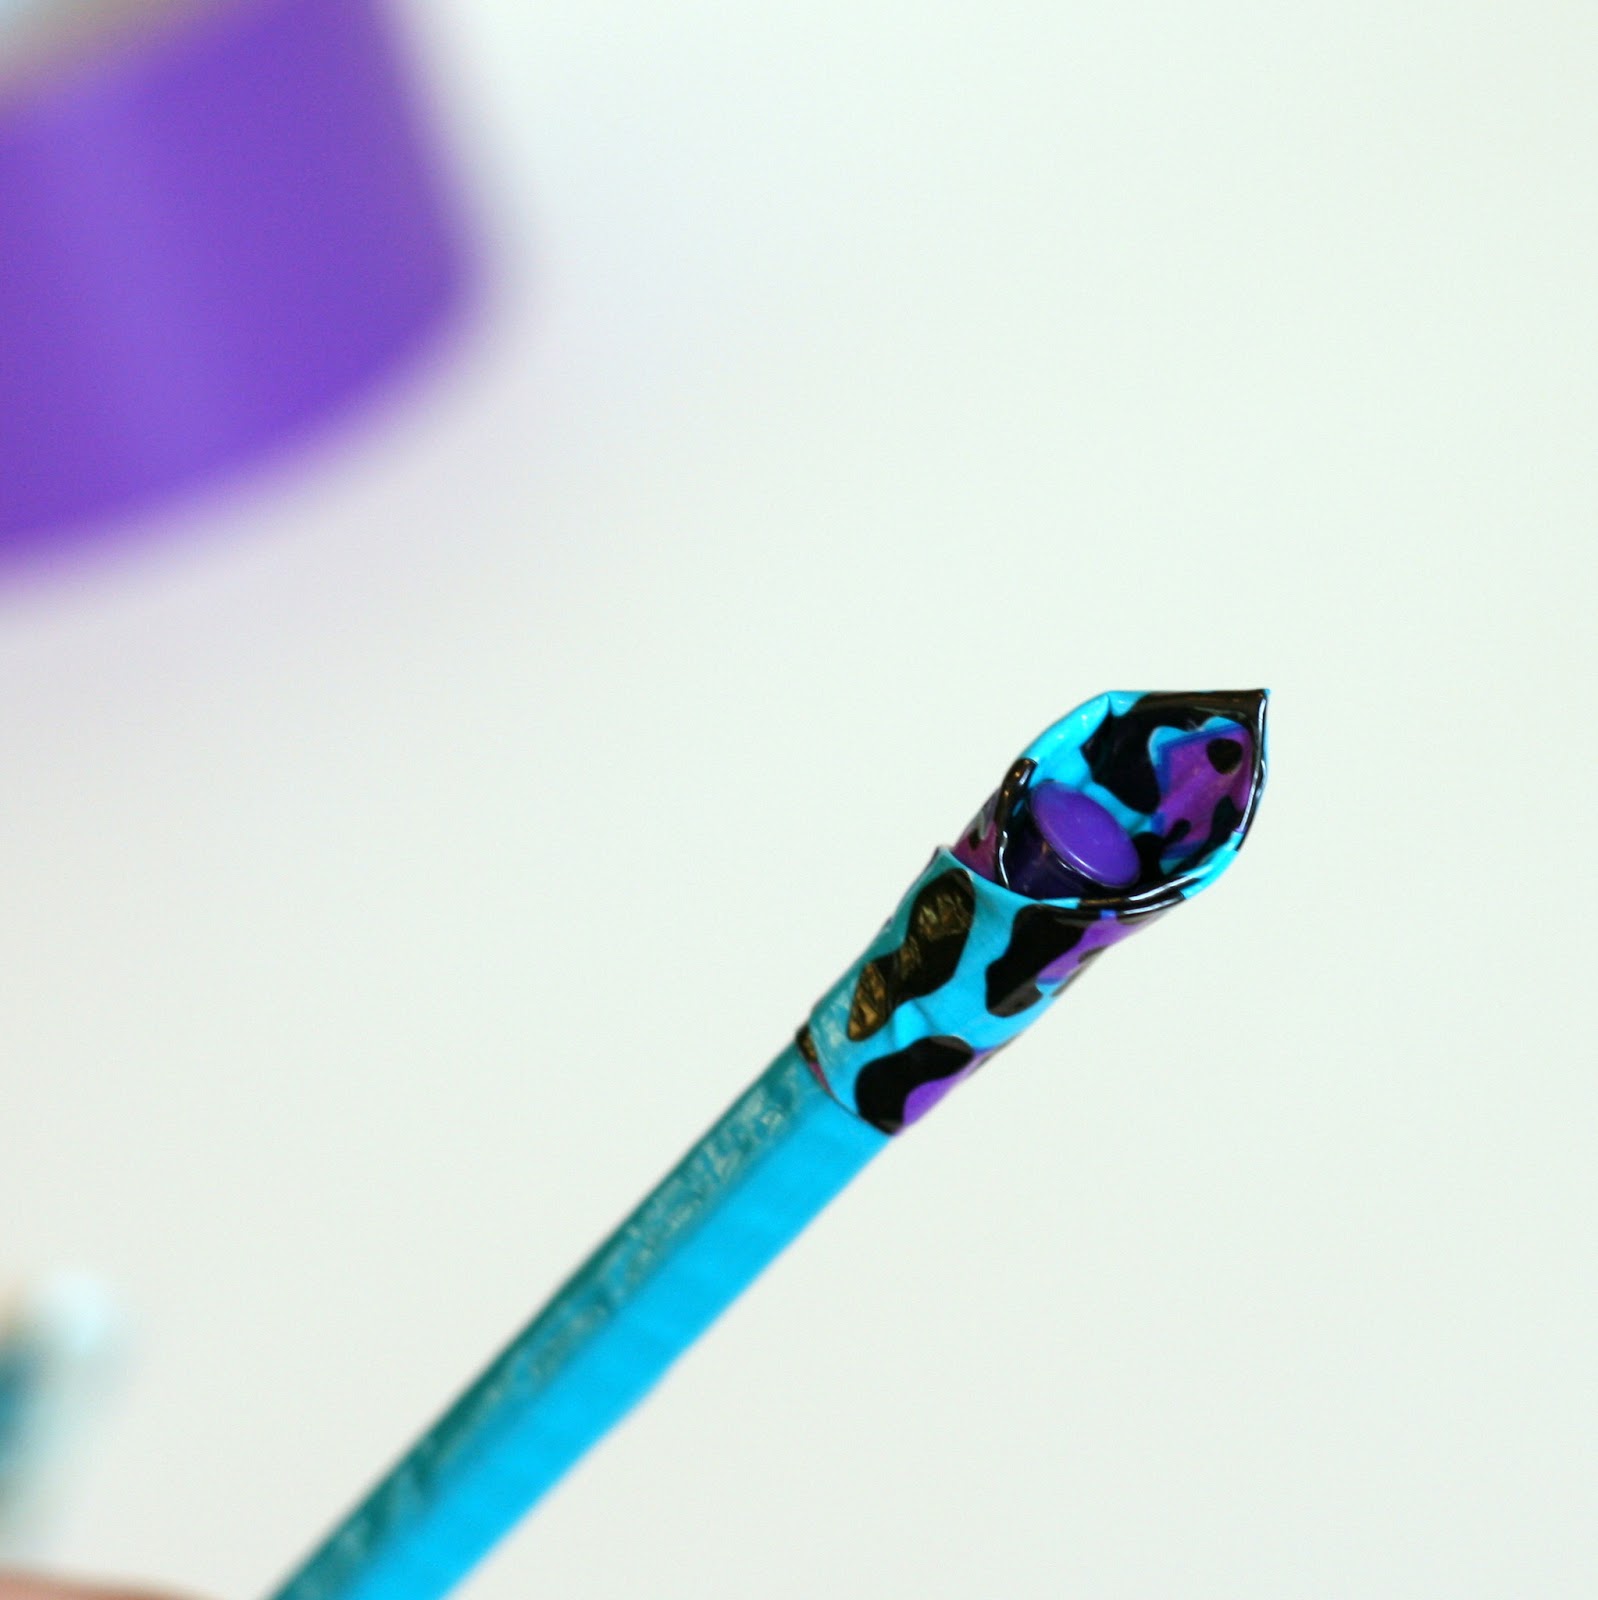
Start by wrapping the body of the pen with a thin strip of Tape.  Only go as far as the cap - they fit pretty tightly and won't fit over the duck tape.
 

Here comes the Magic Trick....use a utility knife and cutting mat - instead of scissors - to cut the Duck Tape.

Pure genius.  Can I tell you how much time I've spend trying to de-gunk the scissors after trying to cut through that sticky tape.

The tape easily releases from the cutting mat - and the knife slices through the tape like butter.

Cut the tape into 2" sections.  Since the tape is approximately 2" wide - you will end up with 2' squares.

For this flower you will need:

10 squares for the center
14 squares for the outer petals
4 squares for the outer leaves


Next fold over one side of the square.


Then fold the other side of the square so you end up with a pointed top with exposed sticky tape at the bottom.


I found it's easiest to make all the "petals" at once, before you begin to attach them to the pen.
As you can see - it's not important that all the "petals" be perfect, neat or all the same.  The key is to be sure there is enough sticky at the bottom. 
 

Start attaching the petals around the stem of the pen.
 

I like to add the petals, one after the other, going around the pen clockwise. 
 

I find this method makes it easier to space them evenly.


Once all the petals have been added - it will be a bit messy underneath.


 The solution is to add 4 more leaf "petals" - same color as the pen stem - to cover up the messy bits.
 

 One final step was to add some Bling to the centers.


 And now we have a collection of bright Duck Tape Flower (pens) sitting by the kitchen phone.  I will never again need to go searching for a pen when the phone rings.

This project was also shared recently at The Pink Elephant.


Monday, March 11, 2013

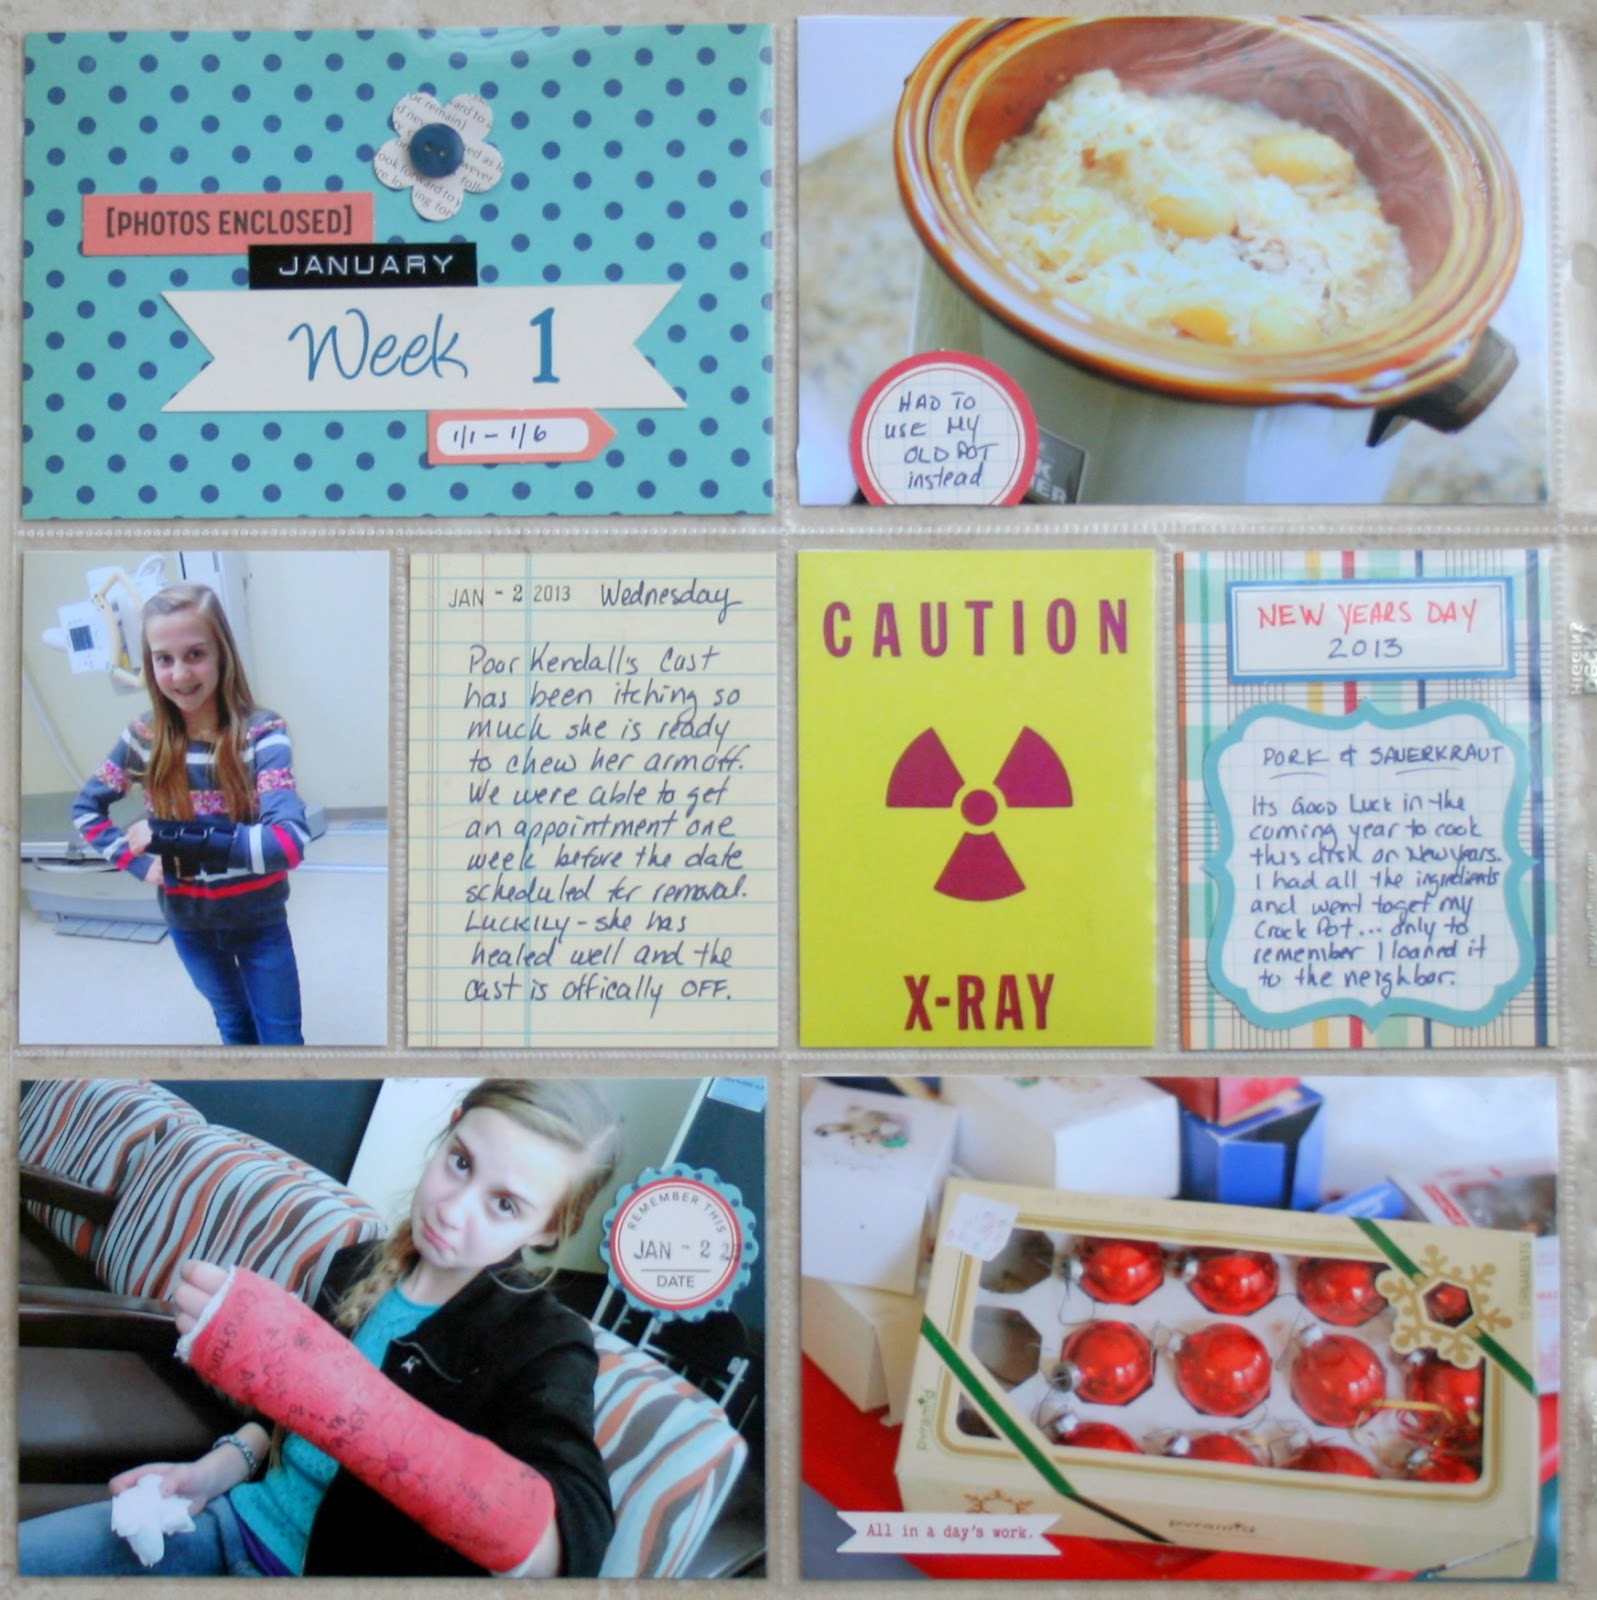
Project Life {2013}: January

I am taking on Project Life again this year.

Last year - I managed to keep up for over half of the year (even though I only posted the first few pages). 

My approach this time is MORE about completing the task of documenting our every day lives (as I believe Becky Higgins intended when she created this idea of scrapbooking) - and LESS about making beautiful detailed pages.  I hope to still be able to do some of that (because I do love the details), but it will be time permitting.

We have last years Album sitting out on the Bookcase - and I am surprised at how often my family picks it up to look through the pages - and the smiles that come from seeing the memories.

That is enough inspiration to keep me going.


WEEK ONE

I didn't purchase a core kit this year.  My intention is to use papers that I already have - PLUS the Studio Calico monthly Project Life kit (although I'm still on the wait list).

I loved how last years album coordinated from pate to page since I used the Turquoise Core Kit, but I felt somewhat limited when it came to special events that called for a different color scheme.

Since I will be using a different collection of papers for each week - I want to keep some elements the same through out the album so it doesn't completely look like a hodge podge.  

My intent is to keep some of the Flag Banner and Font used on Title Card the same each week. 

Left Side Page

Right Side Page

I made a 3 X 4 filler card with various "organizing" words to highlight what went on as we took down the holiday decorations.  


WEEK 2

Somehow I have lost the pictures I took of Week 2.  I'll have to retake them and update this post later.


WEEK 3


 Left Side

 Right Side
 This side was filled with Instagram pics - so the 4 X 4 slots were a perfect way to use those square format pictures without having to add a backer of filler.

It was a busy week - and I didn't have a lot of pictures to choose from, so I raided Little K's instagram feed and printed some of her pics (with photo credit of course)


WEEK 4


 Left Side.  I wasn't thrilled with only have a 4 X 4 slot for the Title Card, but I managed to keep the same elements as previous weeks.

 I've seen several other Project Life users journaling in this "Week in Review" style.  I'm not much of a daily journaler, so this recap is working out perfect for me.  

I love including little "artifacts" into my Project Life, but I found out last year that the albums can get Very Fat - Very Quickly....so I'm trying to incorporate things with less texture, like the Saftey Information Card from a flight I took this week.  

I was going to just take the card, but then I started feeling guilty about leaving the next passenger without this important information...so I asked the flight attendant first if it was OK (phew - apparently I could never be a thief - I had guilt written all over my face) 

Friday, February 15, 2013

The Pink Elephant's Birthday Blog Hop

We are Celebrating a Birthday Today!

 
Thanks for stopping by.  

If you are Hopping Along you should have just come from Melissa's Blog

If this is your first stop - you can head back to The Pink Elephant and see the Fabulous Prizes that are up for grabs today and get the official Blog Hop Order.  


So Here is My Project

 Ella The Pink Elephant - in 3D Plush Form

LORi included so many sweet details when she created her sketch of Ella - I wanted to try and make them come to life.


She had to have a Pretty Plaid Bow and Polka Dotted Ears.

I couldn't forget the other Bow that Ella wears....yep - that's an Elephant Bum.

My favorite part might be her puffy pot belly...
...or maybe it's her Eyes - or curly Trunk.

Today, she's just hanging around - enjoying her Big Birthday...

...and being loved on.


Up Next in the Blog Hop Order is LORi Boyd.  
Head on over and she what fun stuff she is up to today.

Don't forget to leave comments along the way in order to be eligible to win one of the Prizes.